Chapter 11
Opening the set in Ableton Live
Open the finished set, check it before rehearsal, find past sets in Project History, and move a set to another Mac.
Open it#
On the finished card, press Open in Ableton. Plan2Live opens the set in the Ableton Live installed on your Mac that fits the version the set was made for. If you have more than one edition, it picks Suite first, then Standard. A set made for Live 12 opens only in Live 12.
If Plan2Live can't find a Live that fits, it says so: install it, or press Open in Finder and open the .als yourself.
You can always open a set by hand: in Finder, go to your output folder, open the project folder (for example Friday Late Show Project) and double-click the .als inside.
Check it before rehearsal#
Plan2Live builds the set; you know the show. Before the first rehearsal, take a few minutes in Live:
- Play through each song's start. Check that the stems play and line up.
- Check the click. Each song with a click stem has it on its Click track. (The built-in template never makes a click of its own.)
- Look at the markers. Named sections come from your Guide's spoken cues (or from Planning Center). Numbered or placeholder markers mean no names were heard: rename them in Live if you like.
- Check tempo and time signature at the start of each song.
- Check your outputs (your audio interface's routing) the way you always do before a show.
If something is wrong in the set, fix it at the source (the song's details, or its stems folder) and build again. Then the next build is right too.
What's in the set#
- The songs, one after another in Arrangement View, in your set's order.
- At each song's start, its tempo and time signature.
- A block of tracks for each song, named after the song and its key: Markers, Click and Guide, the stem tracks the song uses, and BGVs. See The built-in template.
- Section markers (locators), in the marker style you chose.
- A copy of every stem, inside the project folder.
Project History#
On Pro and Premium, Project History keeps every set you've built on this Mac. Open it with History in the toolbar, or Go → Project History… (⇧⌘H).
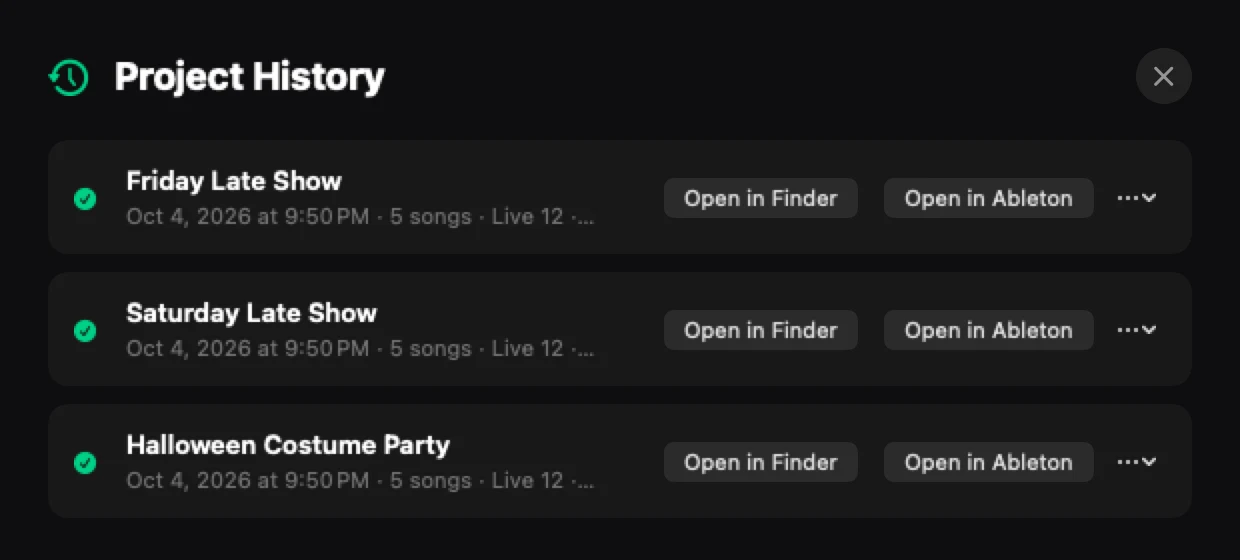
Each set shows its date, how many songs it has, and the Live version. Press Open in Ableton or Open in Finder next to it. Remove from History (in the … menu) takes a set off the list; it doesn't delete the project.
On Free and Plus, History tells you it's part of Pro and Premium.
Move a set to another Mac#
The project folder holds the set and a copy of every stem it uses. To play it from another Mac, copy the whole project folder (not just the .als) to that Mac or to your show drive, then open the .als from there. If you change the set in Live and add new audio, use File → Collect All and Save in Live before you move it again.
If the other Mac has an older Live, build the set for that version (see Choose the Ableton version).
Something here doesn't match what you see in the app? Email feedback@plan2liveapp.com.